A common problem with the poptop on Eurovan Campers is that with age, cracks begin to appear. Sometimes these cracks span the full width of the poptop. A metal frame is sandwiched into the poptop so it is unlikely to completely come apart, but these cracks can allow rain in. There are at least three approaches to this problem:
- Employ some kind of 'plastic weld' approach to repair the cracks.
- Swap out the original poptop with a custom made poptop from an after-market supplier.
- Order a replacement part from Winnebago.
A guide on the 'plastic weld' repair technique can be found here.
The following photos illustrate the unboxing of a replacement poptop ordered from Winnebago. The quote for this part was $4,577.30 plus freight plus Iowa state sales tax (6% at the time). A $1,000 deposit was required to place the order. The part number is P18788-01-K72. Note once again that the quote here does not include the cost of freight. These large parts are sent as freight. You might be informed by the person taking the order that freight delivery to a commercial address is cheaper, if you can arrange that somehow. In any case, you should Google "how to receive a freight shipment" because it's different than ordinary shipments you might be familiar with.
")
")
")
")
There is a fourth approach to this issue, but it is impractical at the current time. If we had a time machine to take us into the future, however, we could do the following:
- Create a 3D model of the poptop. This could be done by performing an autopsy of an existing poptop to model all of its components. A free version of the Sketchup program should be sufficient to do this. The dimensions could be entered by hand, or a laser scanner could be used, or there are now software programs that can work from a collection of photographs to generate 3D models.
- Enter the 3D model into your 3D printer (you know, the same one you used to 3D print your flying car and your housekeeping robot) and create a new poptop.
Replacement[]
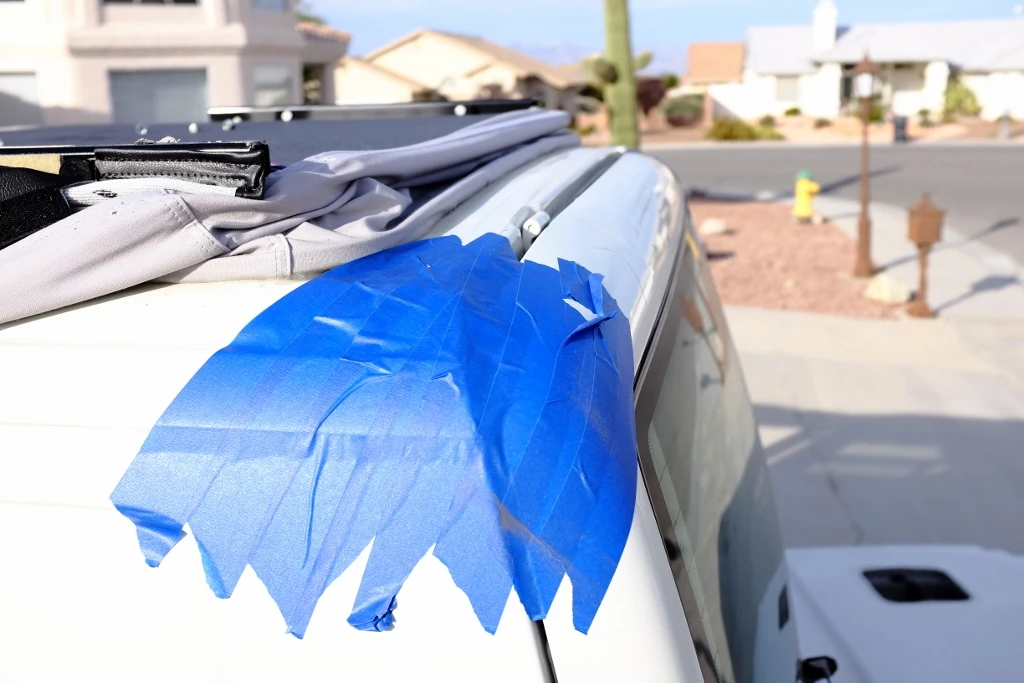
When removing the old poptop, take measures to protect the paint on the tailgate. The protection shown here was not entirely sufficient.
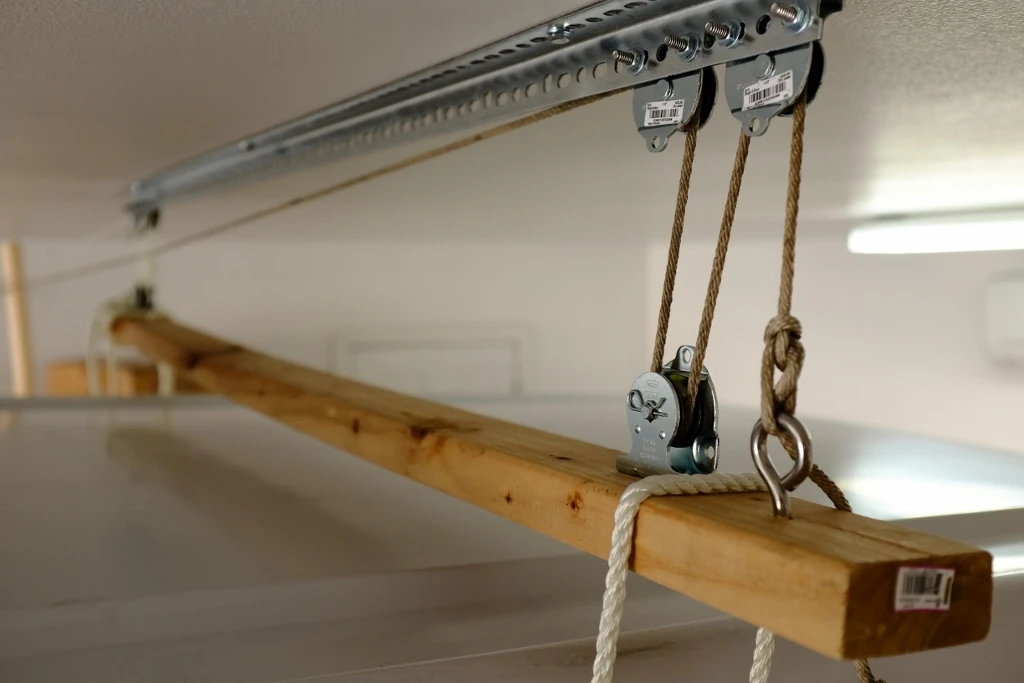
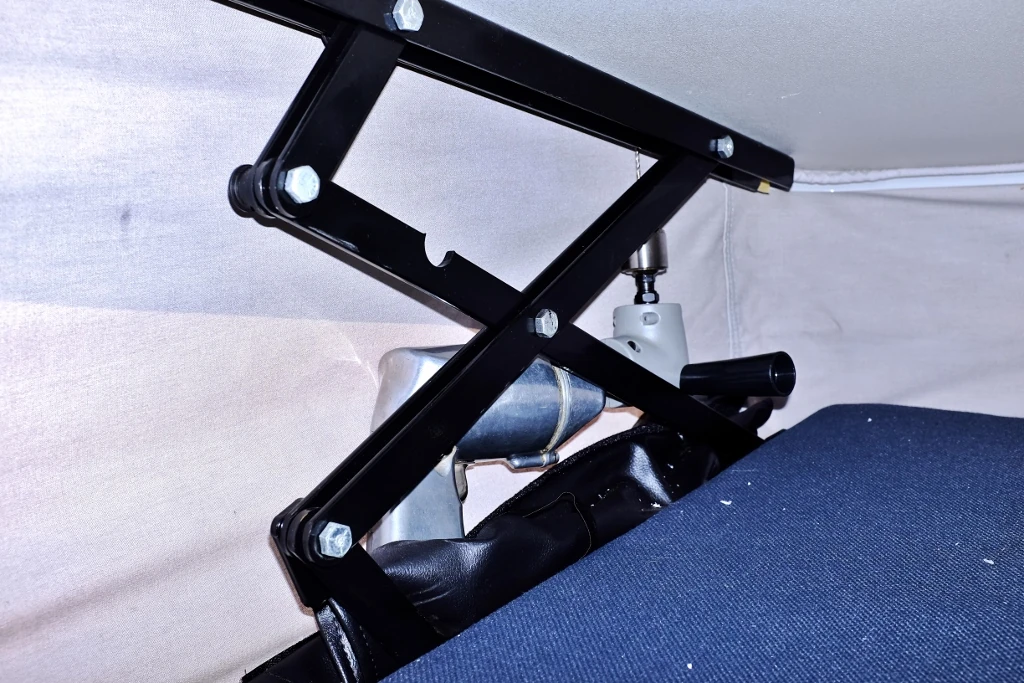
 If a sufficient number of helpers can't be obtained, it may be necessary to craft a hoisting mechanism like the one shown here.
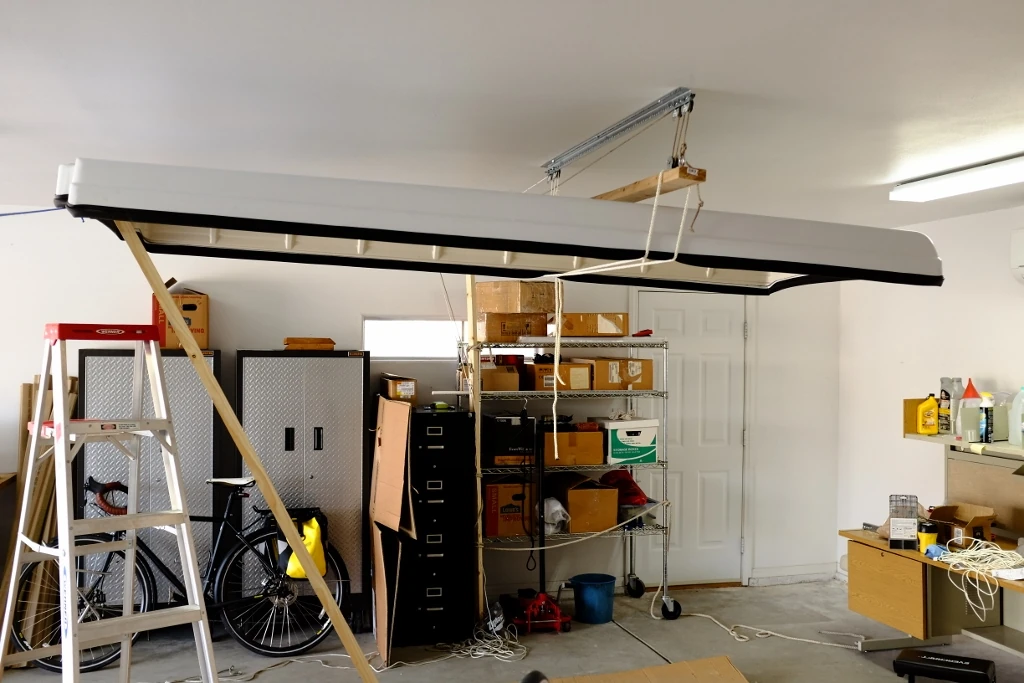
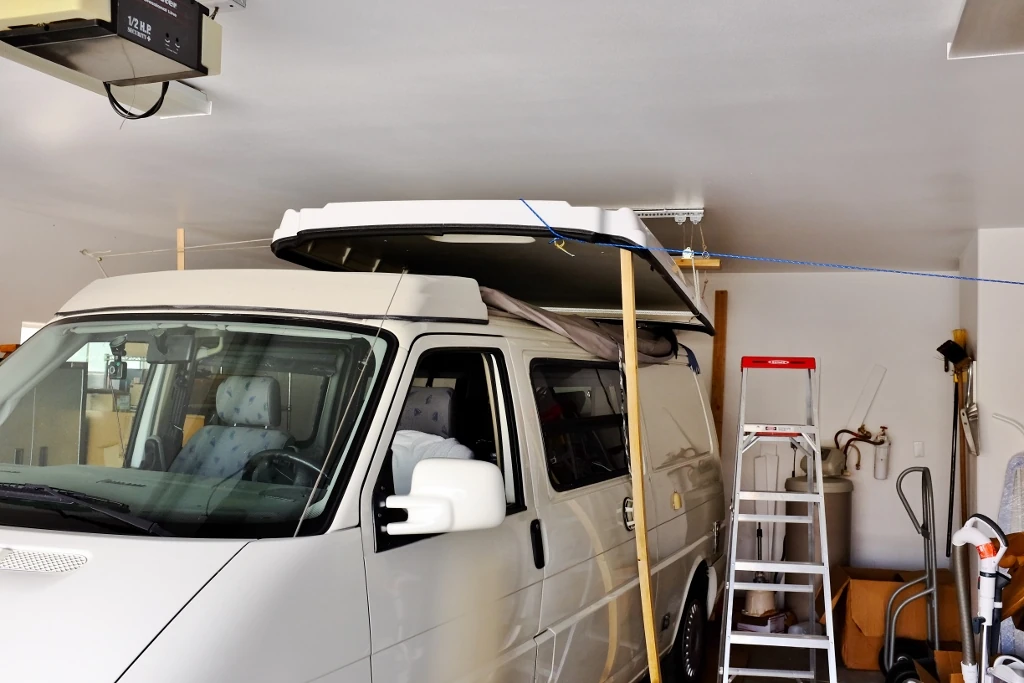
 Then the vehicle can be driven under the top.
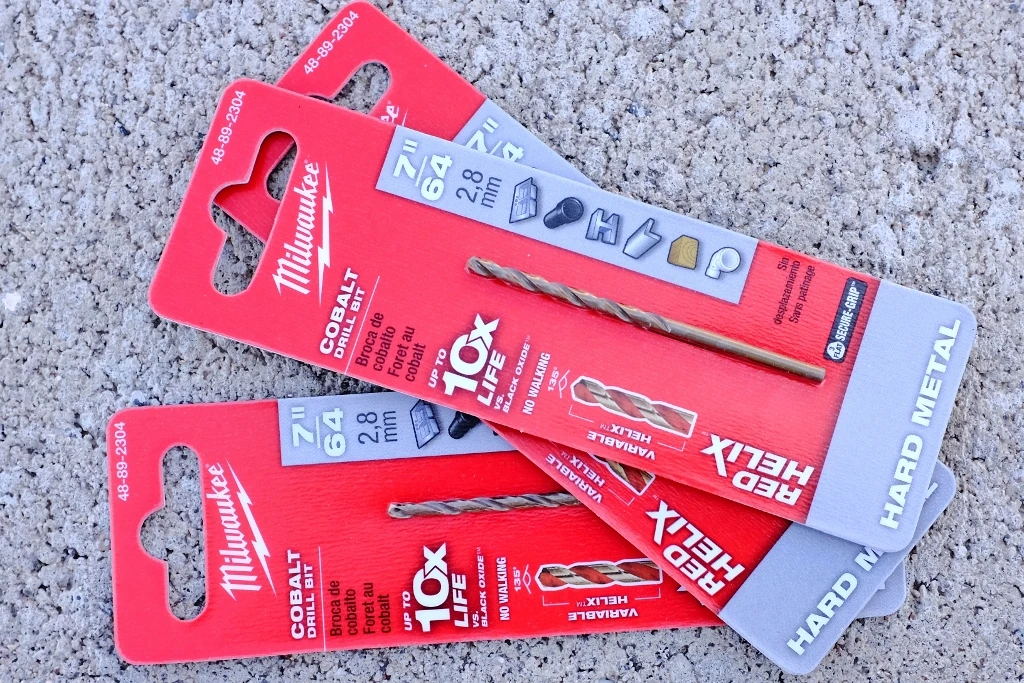
 It will be necessary to use sharp drill bits for the pilot holes for screws that secure the tent to poptop.
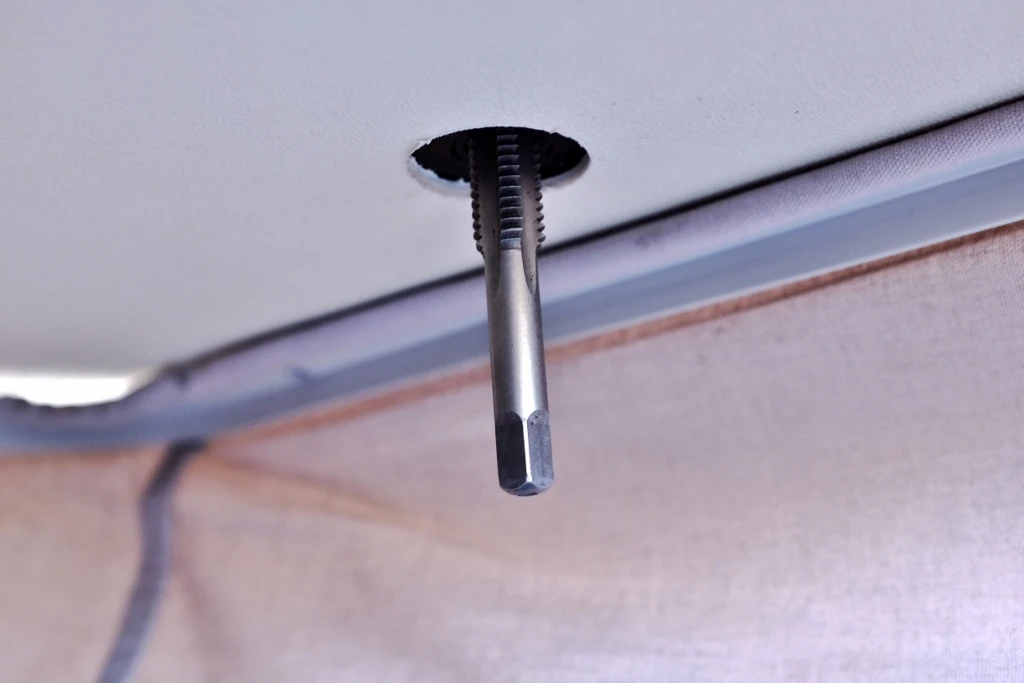
 The bolt holes for the J-shape latches may have welding slag or paint in them. It may be necessary to run a tap into the holes to clean them up.

 On this particular replacement poptop, a few adjustments had to be made.
- The hole in the top for the roof vent had to be enlarged slightly with a hack saw and some hand files.
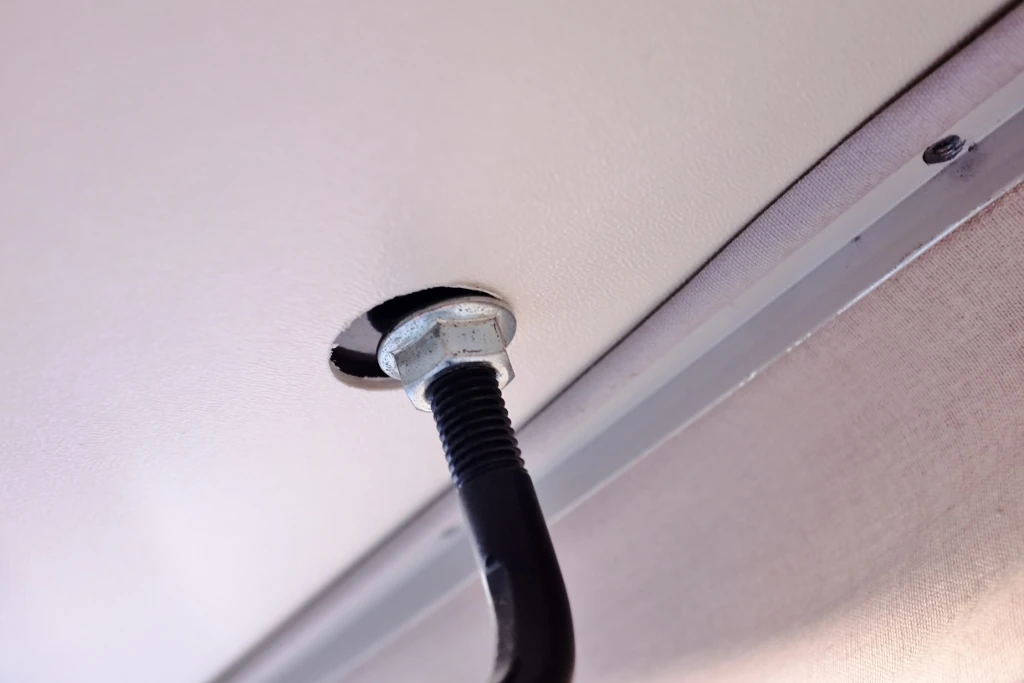
- One of the cutouts through the plastic for one of the J-shaped latches was off center and had to be cut out further with a knife so the lock nut would seat properly.
 There are at least a couple of different approaches to replacing the poptop.
- Remove the tent and attach the tent upside down to the bottom surface of the poptop while it's on its back on the floor.
- Leave the tent on the vehicle, bolt the poptop onto its supports, and then lift the top edge of the tent up to attach it to the poptop.
The second approach was used in this instance. This presents certain challenges. Shown here is an ancient right angle attachment on an ancient hand drill. This made it possible, but very awkward, to drill pilot holes at the low-ceiling end of the upstairs bedroom.

- Cooling System Bleeder Screw
- Radiator fan strip fuses
- Serpentine belt
- Fuel Pump
- Cruise Control Module
- Mass Air Flow Sensor
- Heater Hose Tee
- Front Brakes
- Front windshield washer nozzle grommets
- Fuel Filter
- Engine/Transmission mounts
- Sliding Window Latch Repair
- Cruise Control Brake Switch
- Sliding door
- Heater Flaps
- Final Drive or Differential
- Roof Vent Putty
- Secondary Air Injection pump strip fuse
- EVC luggage rack